How to fit carpet on stairs
Fitting carpet on stairs is a tricky task that takes some time. With the right tools and our comprehensive guide, you can carpet stairs yourself without too much trouble.
As the stairs are a high-traffic area, use a heavy-duty underlay that can manage the wear, and a proper hammer-tacker or electric stapler to avoid the carpet slipping and causing accidents.
Our easy-to-follow instructions for first-time carpet fitters can help you feel confident installing carpet on stairs.
To fit stair carpet, You Will Need:
- Carpet
- Heavy-duty underlay
- Carpet grippers or gripper rods
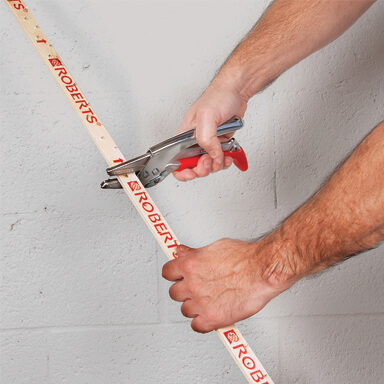
- Strip cutter or hacksaw
- Carpet Knife, Trimmer or Shears
- Hammer tacker or heavy-duty staple gun
- Knee Kicker
- Stair tool
- Hammer
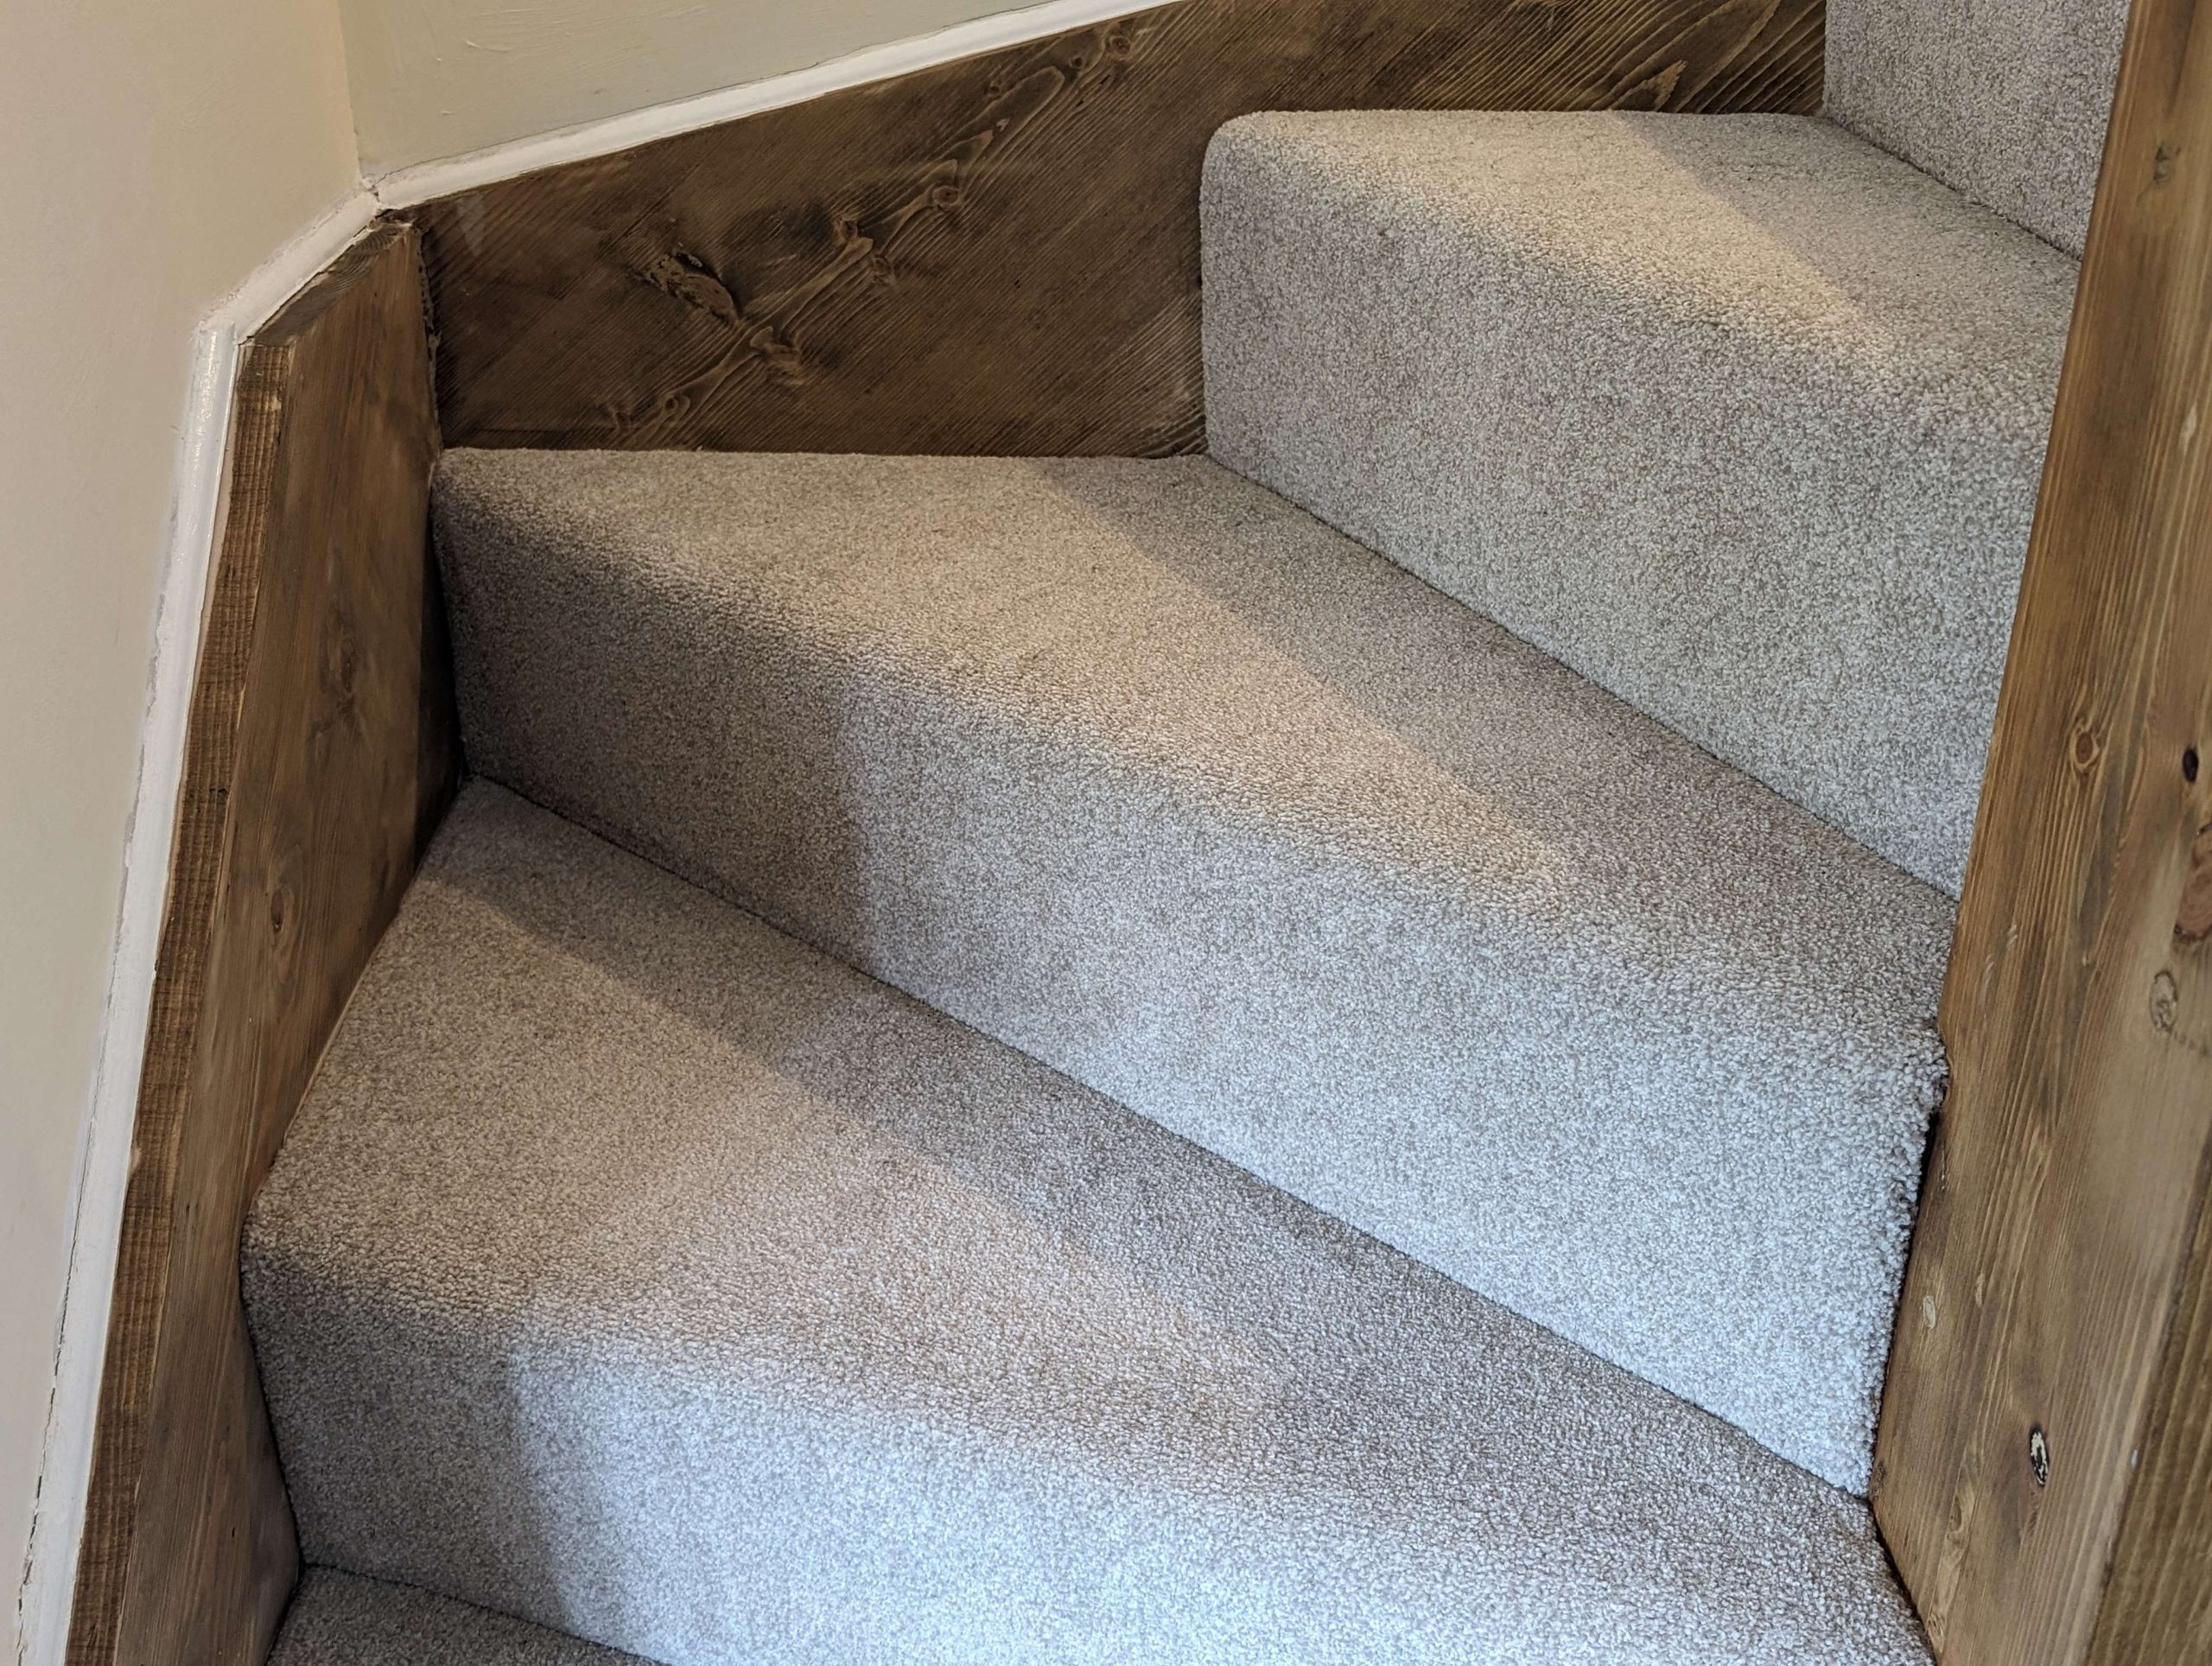
Parts of a Stair
Each stair has a tread and a riser. The tread is the horizontal part, the bit you tread on. The riser is the vertical part. Winders are wedge-shaped steps that allow corners in stairs.
How to Lay Carpet on Stairs

Here are our instructions for DIY carpet on stairs.
1. Prepare the staircase
- Remove old carpet, underlay, tacks, staples and grippers. These will likely have enough wear that they need replacing.
- Remove any debris and sharp edges to give yourself a smooth working surface.
- Vacuum and clean the steps with a cloth dampened with hot water and soap solution, before drying thoroughly. This will remove any dust and adhesive.
2. Fit Carpet Grippers
- Measure the width of each stair, leaving 3-5mm at each side. This gives you a gap around the grippers where you will tuck the carpet.
- Measure the depth of the stair tread on both sides, on every step.
- Mark and cut lengths of gripper using a strip cutter or a hacksaw. You need enough to cover both sides of each tread, the back of each tread and the base of each riser.
- Fit to the back and both sides of each tread and the base of each riser. Leave a 3-5mm gap between the gripper and the nearest surface, e.g. the wall, the next riser, the previous tread. The size of the gap will depend on the carpet pile, as this is where you will tuck.
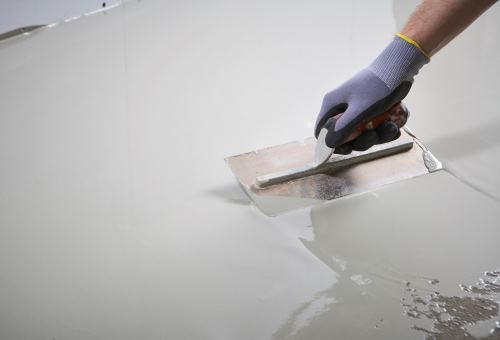
3. Apply Underlay to Each Tread
Underlay (or carpet pad) is a padded layer that makes the carpet feel soft to walk on. You’ll need to cut a separate piece for each stair. These should wrap around the tread and riser and fit snugly between the grippers.
- If the stairs are equally sized, you can cut a paper template to guide cutting the underlay.
- If the wall is curved or angled or the stairs aren’t exactly straight, you’ll need to measure each step individually.
- Cut separate pieces for each tread and place just in front of the gripper strip.
- Use a hammer tacker to staple the underlay in place. Start in the centre of the back edge and work outwards towards the edges, stapling roughly every 3 inches.
4. Cut the Carpet to Size
For straight sections of stairs, you might be able to install carpet in a single strip. This is known as the waterfall method and is great for experienced carpet fitters.
However, for first-time fitters or a DIY stair carpet, the waterfall method can lead to inaccuracies if you don’t cut exactly straight, leaving you with a gap at the side of the stairs. It also does not work for stairs with corners, curves or uneven walls.
While it might take longer, measuring and cutting a section that covers the riser and tread for each step will provide the most accurate and well-finished result. If the stairs are fairly even you can use a paper template with some excess in the length and width. If the stairs have winders (corner steps), you’ll need to cut these separately.
- Measure the width of each step. Measure across the tread and down the riser as one, making sure to account for any nose or overhang.
- Add on a 2-3cm excess on each side to give you some wiggle room.
- Cut out the pieces for each step.
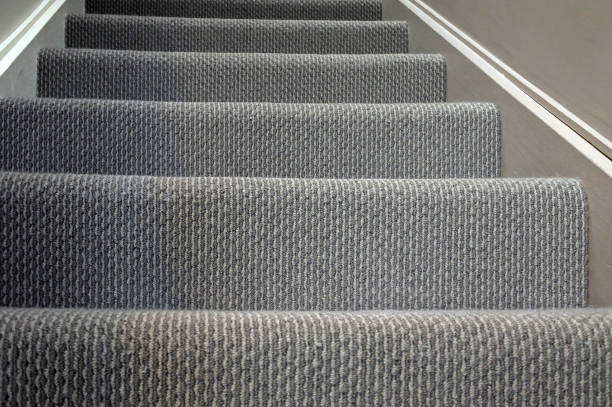
Stair Carpet Installation
5. Align the carpet
- Line the carpet up with the bottom edge of the first riser.
- Press onto the gripper strip at the base of the riser using the stair tool and tuck it down underneath the gripper.
6. Staple
- Staple the carpet onto the riser just below the nose of the tread.
7. Stretch and Tuck
- Use a knee kicker to stretch the carpet up to the base of the next riser. Start in the middle and work outwards.
- Press firmly onto the carpet grippers and tuck the carpet down to the very corner with the stair tool.
- Trim the excess and tuck the sides.
Repeat for each step, all the way up.
Stair Carpet Fitting Tips:
- Patterned Carpets: if you can’t install the carpet in one strip, be sure to line the pattern up carefully.
- Landing: if you’re using the same carpet for the landing, take the stair carpet up to the top of the last riser, leaving a 20mm gap at the top or just below the nose if present. pull the landing carpet down over the edge of the top step and fix it below the nose.
- Keep track of your cut pieces: The last thing you want to do is lose a piece of carpet. We’ve heard it all, from winder sections left on top of skips that were removed during the fitting to miscounting and having to get the last step from offcuts. Make sure you’ve got all the pieces for all the steps and know where they are.
- Use the right tools for the job: Some DIY fans try to botch a job with the tools they have, but for stair carpeting, it is worth the effort to make sure you get a good finish. After all, you’ll only have to do it again if it’s done poorly. A regular stapler won’t attach carpet or grippers and will leave you with sags when the staples work their way free.
Stock up on Carpet Tools at Re-New
As long as you take your time and measure correctly, you can’t go far wrong with stair carpeting. Remember to measure twice so you only cut once, and leave yourself some excess to work with.
We stock a wide range of carpet fitting brands and all the tools you need for a quality finish. If you are looking for high-quality tools at an affordable price, we’ve got what you need. Browse Carpet Fitting Tools